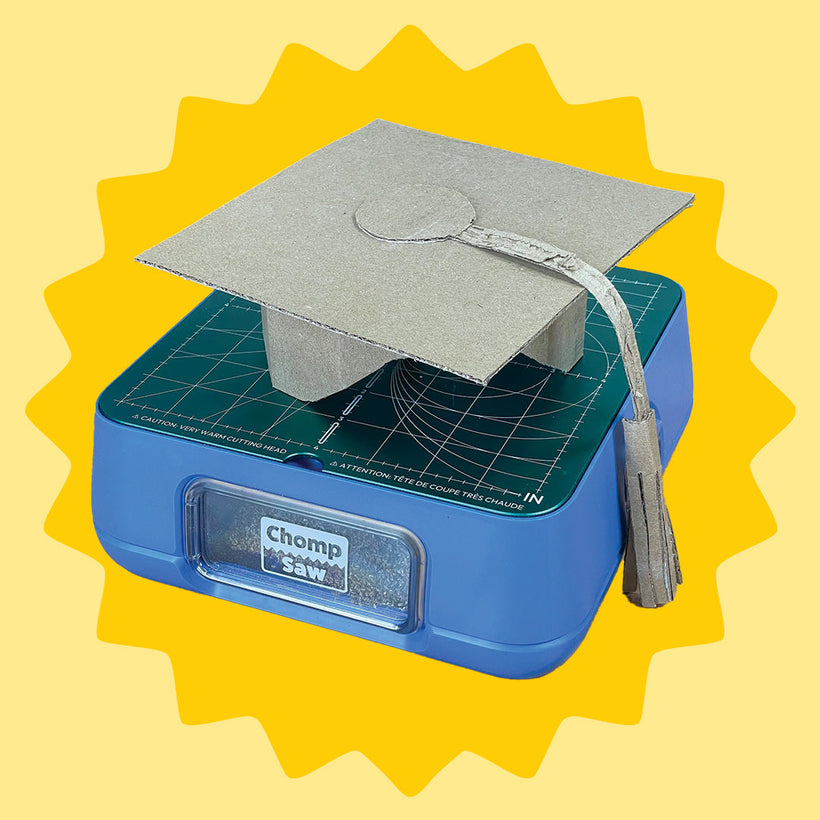
Everything to know about using the ChompSaw in your classroom
educationSo you've got a ChompSaw (or a whole bunch of them!) and a room full of inventors who are ready to build. Here's everything you need to know to run a smooth, creative, and fun making session with your students.
Shop this Article
How to set up your ChompSaw station
A little prep can go a long way to make sure your ChompSaws are ready for building.
- Find a flat surface near an outlet. A table, desk, or cart all work great.
- The power cord is stored under the lid: pull it out, plug it in, and you're ready to go.
- Stability matters, especially when cutting larger pieces. If your ChompSaw starts sliding around, your best tools are a non-slip mat, a little non-stick tape, or (for the best fix) a Chompin' Station. The Chompin' Station hooks the ChompSaw to your table so it stays put no matter how hard your inventors are pushing. We especially recommend it for grades K–2 or whenever kids are tackling bigger builds.
Managing Groups and Taking Turns
We recommend 1 ChompSaw for every 5 students for the most seamless building experience, but any amount of ChompSaws will work. Sharing the saw is a great opportunity to build collaboration and patience alongside making skills.
A few approaches that work well:
- Stations rotation: Set up 1–2 ChompSaw stations alongside other making activities (sketching, assembling, decorating). Rotate groups every 5–10 minutes.
- Cut queue: Have students pre-mark all their cuts with a marker before approaching the saw. This keeps the line moving and helps younger inventors feel prepared and confident when it's their turn.

Sourcing Cardboard for Your Classroom
Cardboard is everywhere once you start looking, and most of it is free!
Our favorite educator hack: big box stores. Places like Costco or your local grocery store often have large, thin sheets used to separate pallets, and they're usually happy to let you take a few. Just ask! These pallet separators are perfect for large-scale classroom builds (we once saw built a full Shark Tank set out of them 😉).
Other great sources:
- Shipping boxes from Amazon or any online order
- Appliance boxes from neighbors or local stores
- Your school's own receiving department — there might be extra cardboard on campus already!
Choosing the Right Cardboard
Something that surprises most makers new to cardboard creating is that not all cardboard is the same, and a little knowledge here saves a lot of frustration.
The sweet spot is B flute cardboard, which is about the height of two pennies stacked. Most standard shipping boxes are right in this range. If cardboard pushes through smoothly with steady pressure, you're good to go.
Occasionally you'll hit a piece that's too thick or too dense. Here's what to do:
- Score It: Have students draw their cut line first, then press firmly along it with the scoring tool (or even just their palm). This compresses the cardboard just enough to slide under the cutting head.
- Smush It: Have students jump or walk across the whole piece to pack it down before cutting. Yes, it's as fun as it sounds! And yes, it actually works.
One heads up for new classrooms: The exterior box the Maker Bundle ships in is E flute, which is a bit denser. Students may need to use the score or smush technique before cutting it. Good to know before your first session!
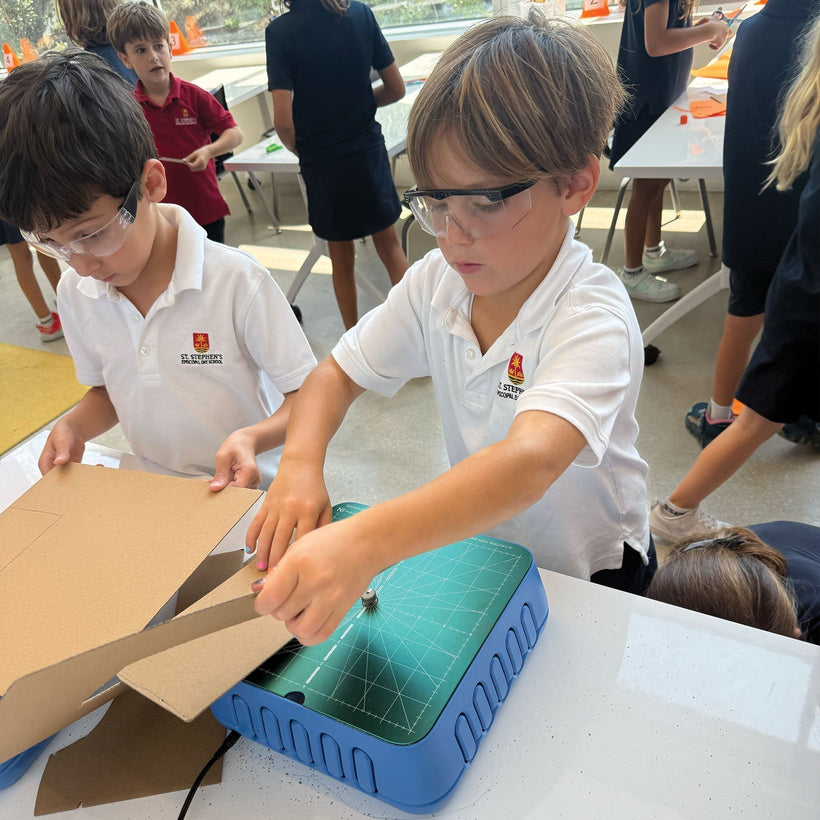
Making your first cuts
Before your class dives into open building, the ChompSaw Basics lessons are a great way to get every student comfortable with the tool. Or you could just give them a watch to make sure you're ready to facilitate a building session with a new tool.
Each lesson is short, video-led, and focused on one skill at a time. Check them out here!
Tip: Use the scoring tool to pull away the top layer of your cardboard, revealing the wavy fluting underneath. This makes the cardboard flexible and easy to curve into cylinders, arches, and more. The direction of the fluting is the direction it will naturally want to fold!
Check out our STEAM curriculum
We have a library of fun, engaging curriculum for grades K-8! Our lessons are designed by real educators and aligned to NGSS/CCSS standards to ensure that the ChompSaw isn't just a fun creating experience, it's a tool for learning. In each lesson, students will learn concepts related to their grade level curriculum, then build projects that demonstrate their understanding of each subject.
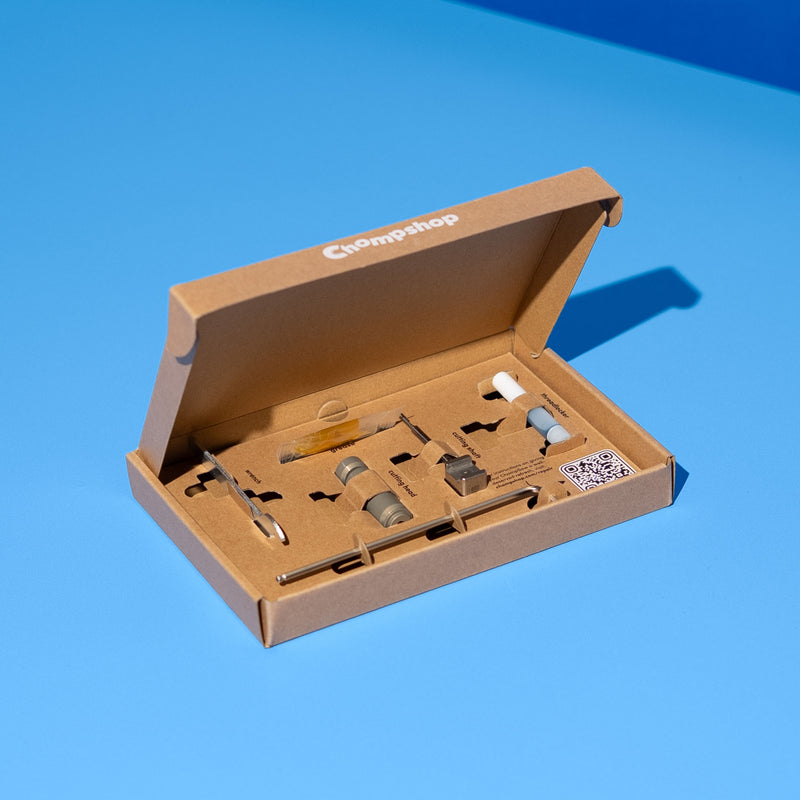
Built to last (but easy to tune up)
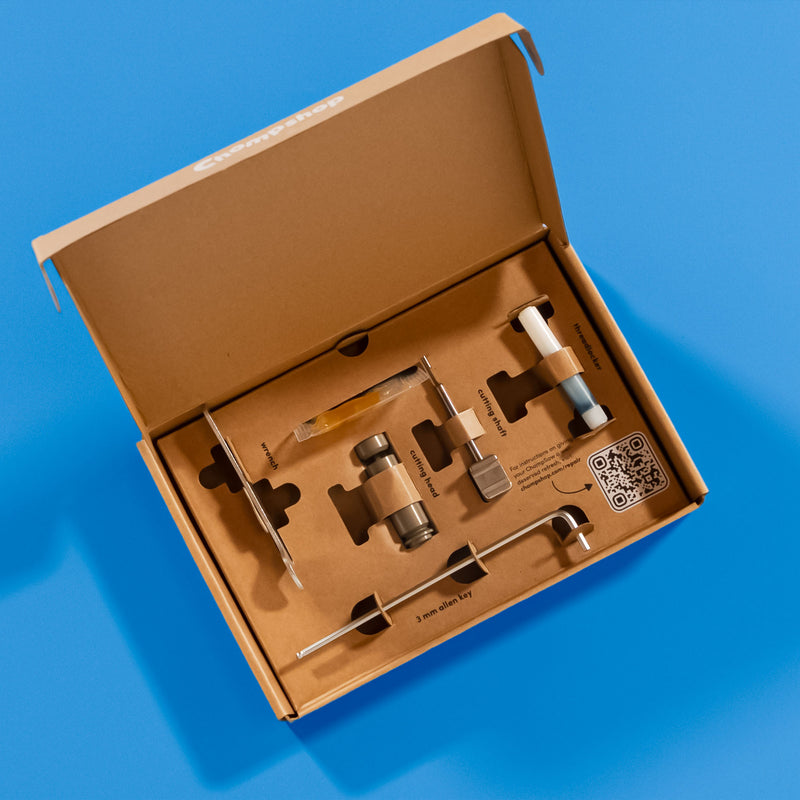
The ChompSaw is built for heavy use: the cutting head that comes with your machine is designed to last over two years even with regular classroom cutting. But if you're running a busy STEM lab and the day comes when it starts feeling a little less sharp, the Refresh Kit has everything you need to get it running like new.
The kit includes a replacement cutting head and shaft, a wrench, grease, and an Allen key, plus a QR code that walks you through the whole repair via video. The swap takes about 10–15 minutes and only requires one thing from home: a Phillips head screwdriver.
What's Next
We can't wait for you to bring the joy of making into your classroom. If you have any questions, our support team is always happy to help. Happy building! 🪚