We expect this repair to take 15 minutes! Once you make the swap, your cutting head will be good to go for quite some time (it should be another 2 years before you'd need a refresh!)
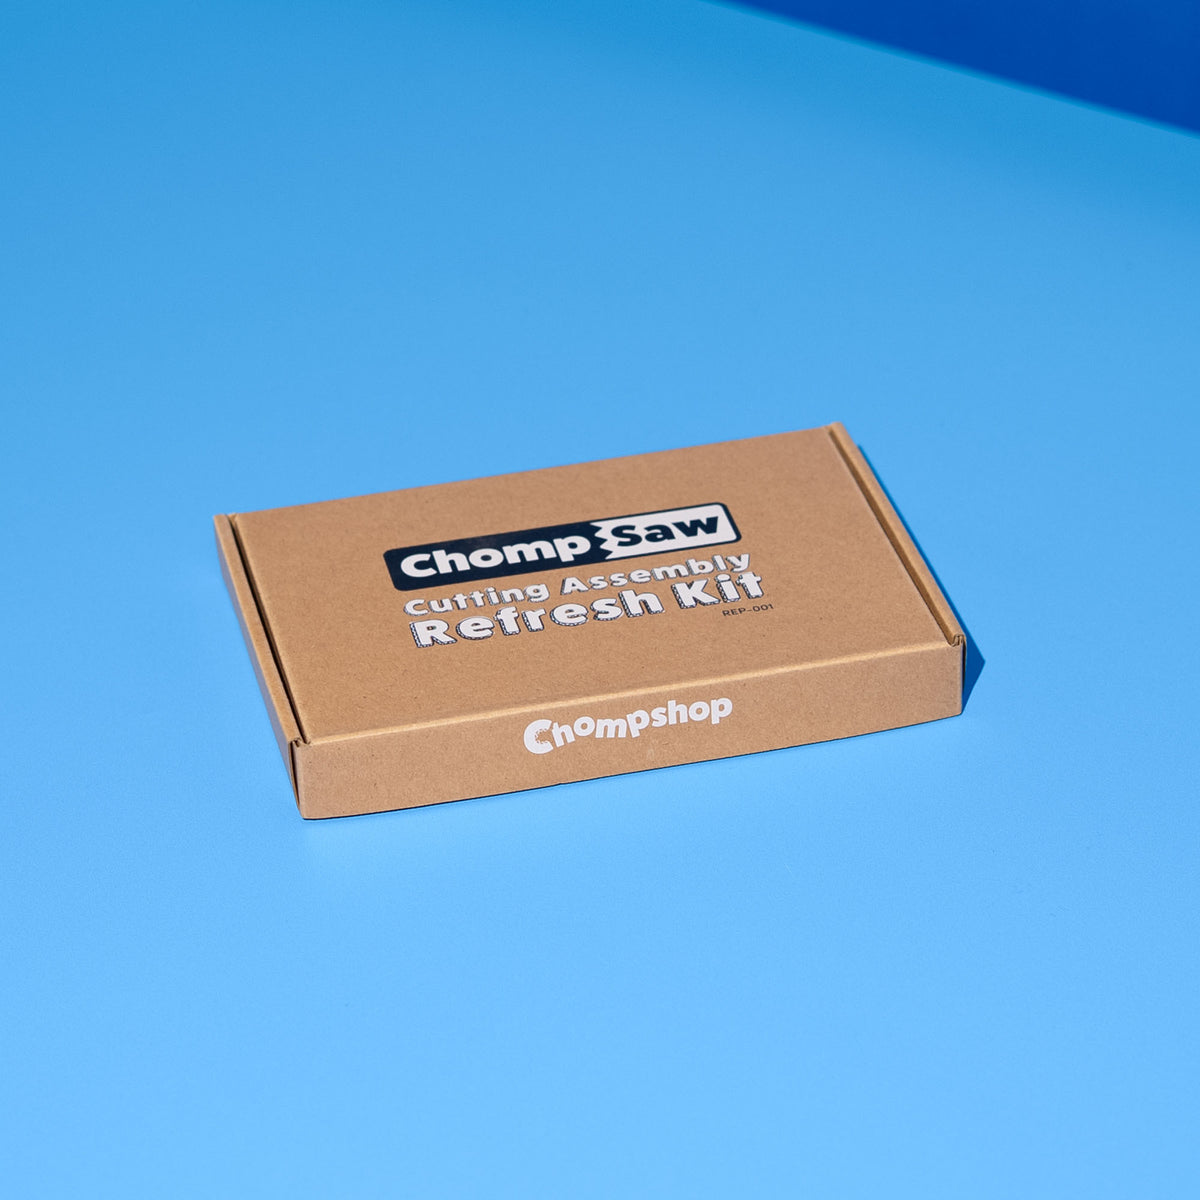
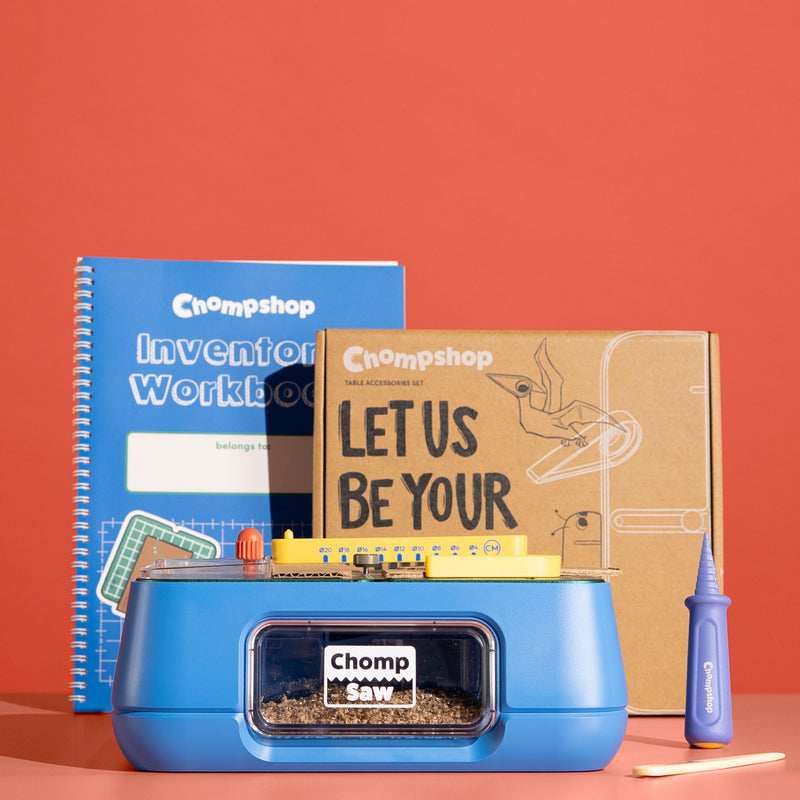
Refresh Kit
$30
Regular price
$30.00 USD
Regular price
Sale price
$30.00 USD
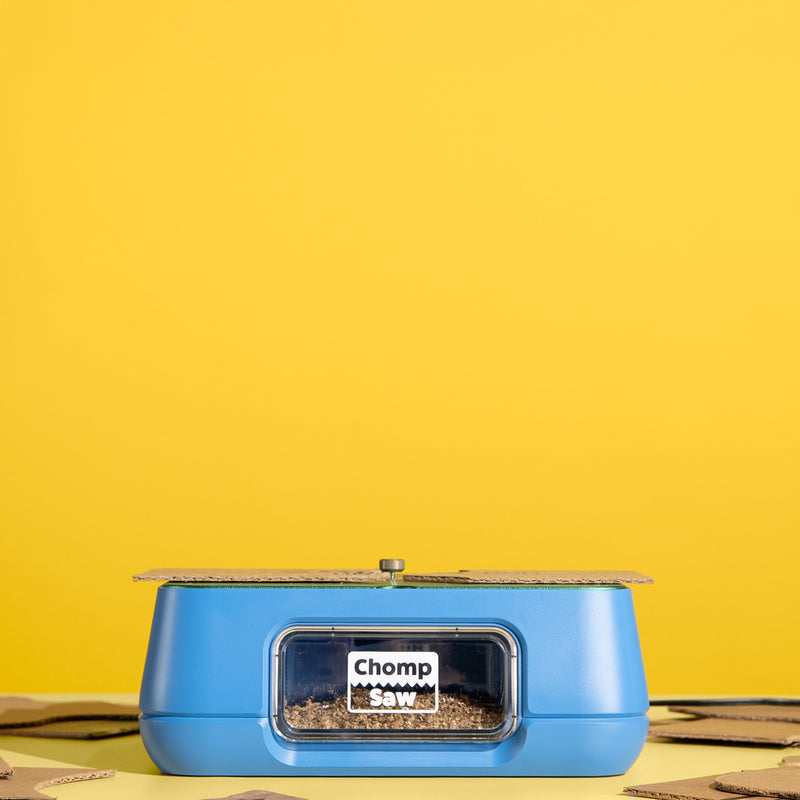
We expect the cutting head your ChompSaw comes with to last over two years at it's best performance when used to cut paper and cardboard, but when it's time for a tune-up, this kit has everything you need to get your machine running like new again!
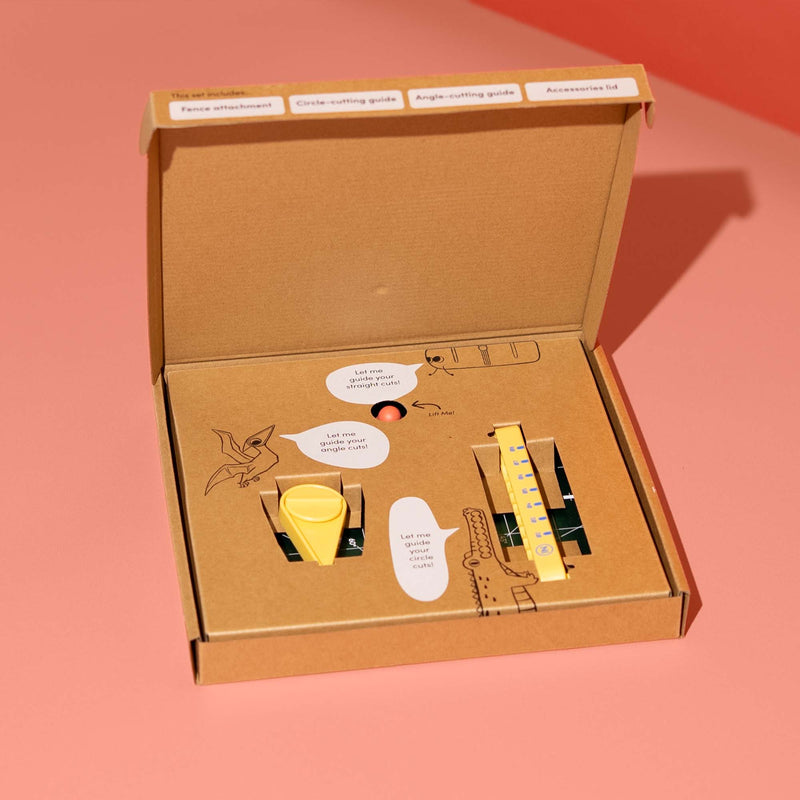
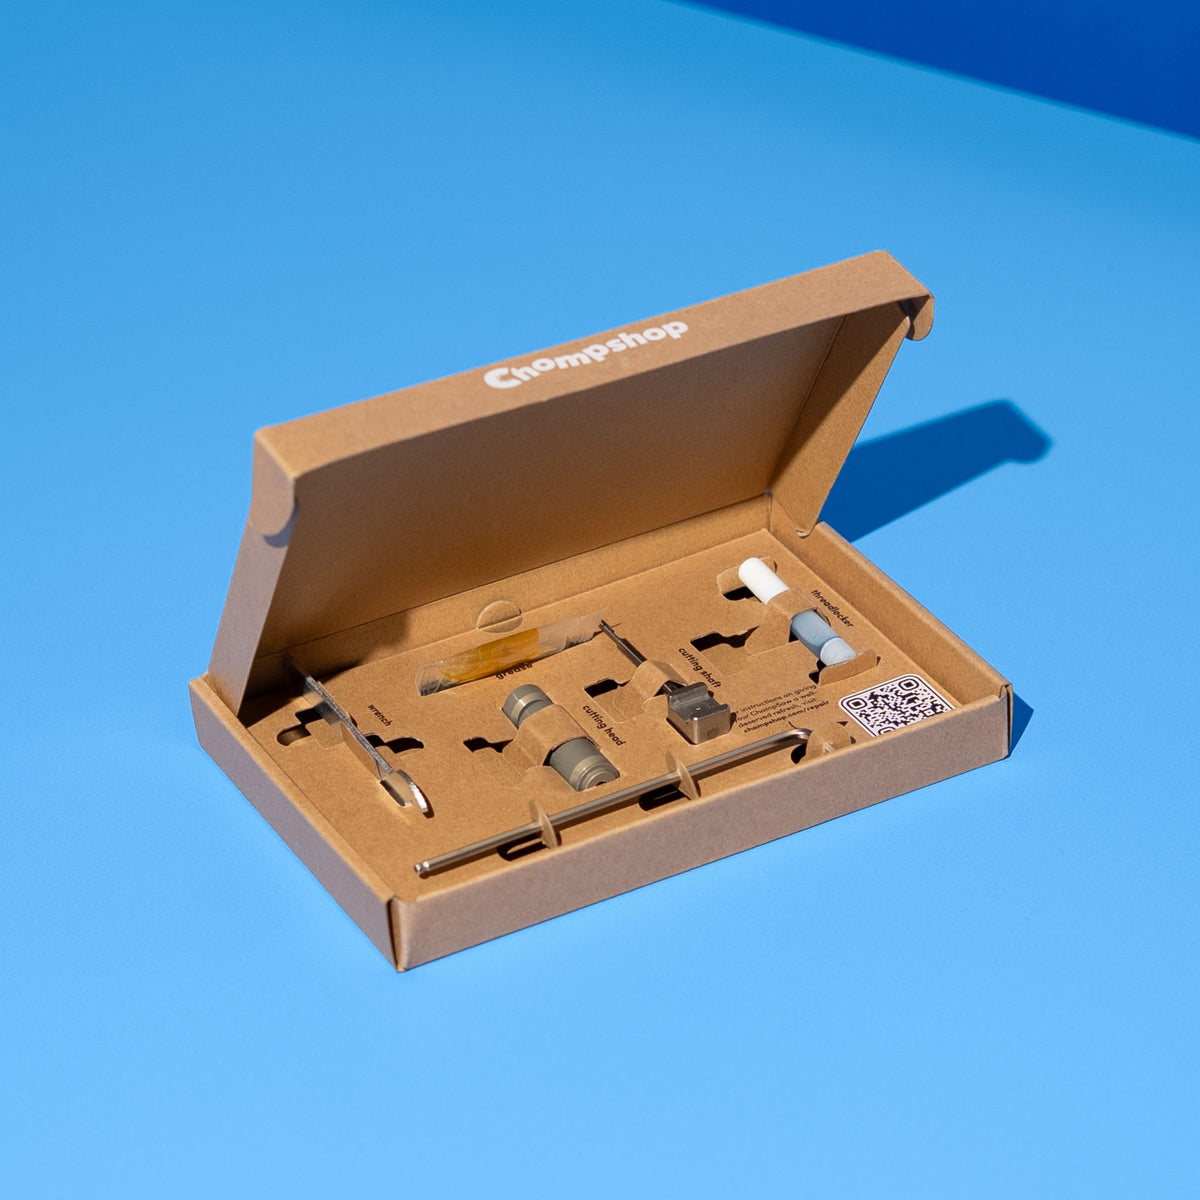
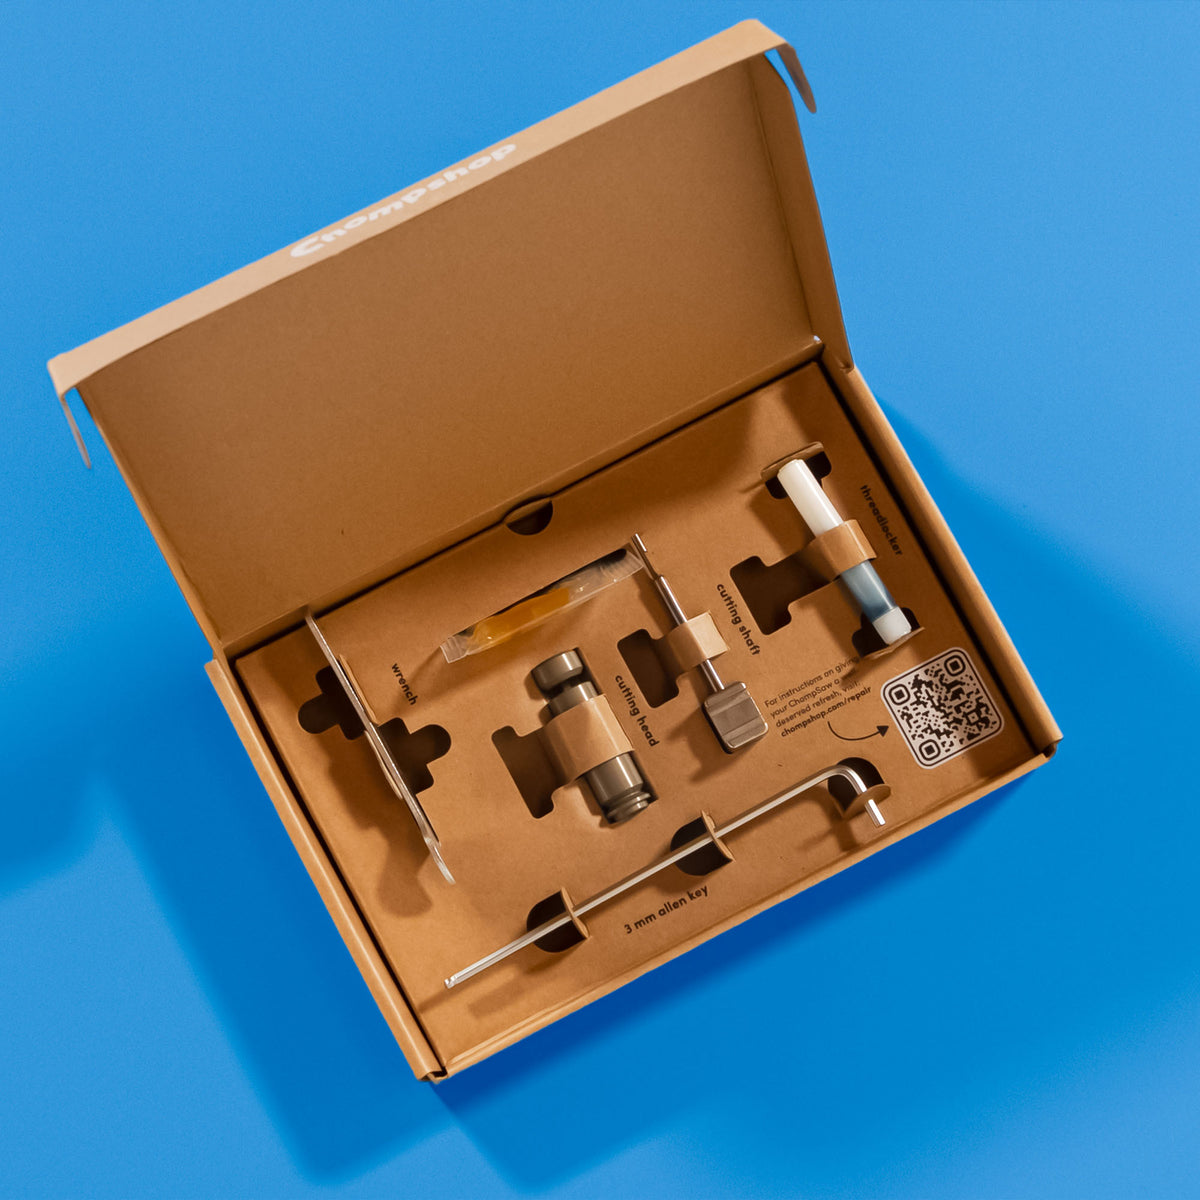
Inside the kit you'll find:
- (1) Replacement cutting head
- (1) Replacement cutting shaft
- (1) Wrench
- (1) Grease packet
- (1) 3mm Allen key
Note: You’ll just need a Phillips head screwdriver from home to make the repair!
When you get your refresh kit, you'll find a QR code that takes you to a video with step-by-step instructions to make the switch in about 10-15 minutes. Here's a link to the video and our quick repair guide so you know exactly what to expect.
Steps for swapping the cutting head:
-
Disassemble — Unplug your ChompSaw, remove the lid and drawer, unscrew the corner screws with your Allen key, and follow the video to disconnect a few interior components.
-
Replace — Remove your old cutting head and shaft, grease and install the new cutting shaft and secure your new cutting head with set screw and thread locker.
-
Reassemble — Reattach fan, chute, and housing (the interior parts we disconnected earlier), screw your ChompSaw's top piece back on and stick your drawer back in place. Then just plug it and start cutting!
How It Works

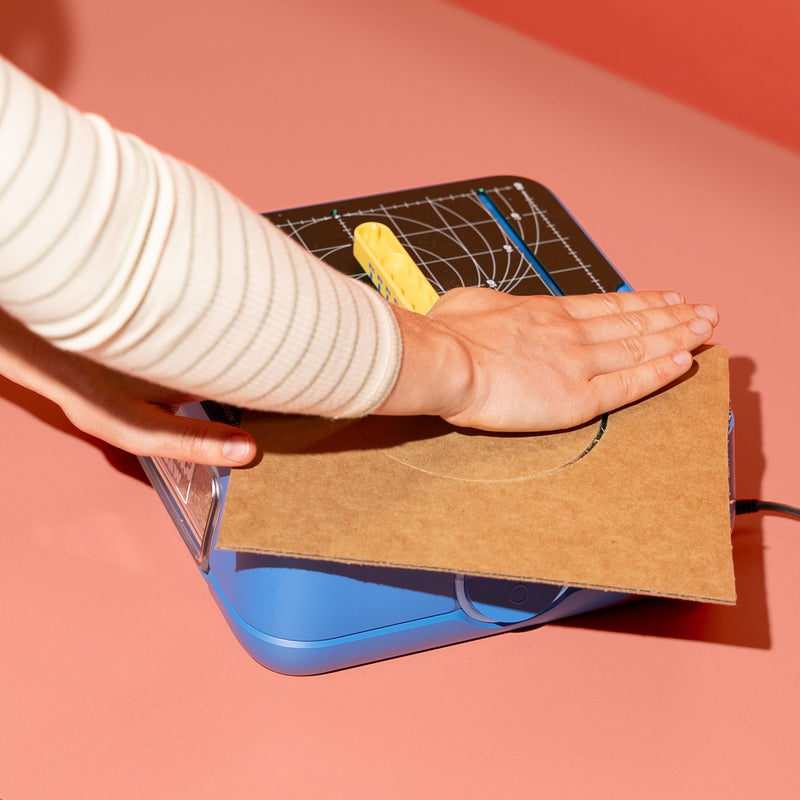
Open it up
This repair takes about 15 minutes and starts with removing the top of your ChompSaw (don't worry, it's easy to put back on!)
Swap it out
We'll guide you through removing a few parts so you can access your ChompSaw's cutting head for the replacement.
Good as new!
Put it all back together, plug it in, and your ChompSaw is ready to chomp again!
Watch a Step-by-Step Guide
Frequently Asked Questions
Just one! You'll need a Phillips Head Screwdriver from home.
Our Refresh Kit comes with all the other tools and parts for swapping your cutting head.
Anyone can do this repair! Follow our tutorial above to watch Collin (our VP of engineering) walk you through each step.
Need help? You're welcome to email us at hello@chompshop.com