


Build a Solar Oven

Driving Question:
How can we use sunlight to create heat?
Activity Overview:
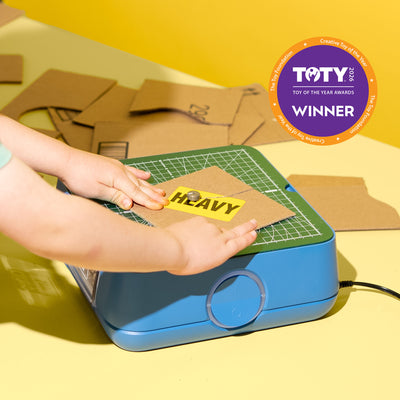
In this lesson, students explore how sunlight creates heat energy and investigate which materials reflect or absorb it best. They learn how reflection, absorption, and insulation work together, then put it to the test: students will design and build a cardboard solar oven using the ChompSaw, load it with s'mores or crayons, and record what happens. What can the sun actually cook?
Learning Objectives
- I can explain how sunlight transfers heat energy.
- I can build a solar oven using cardboard.
- I can test how well my solar oven traps heat.
- I can improve my design based on test results.
Slide Deck


Full Materials List
Vocabulary Slides for frontloading
Recording Sheet (Thermometers)
Recording Sheet (No Thermometers)
Chompsaw(s)
Cardboard
Tape, glue
Scissors
Aluminum Foil
Clear Plastic Wrap
Black Construction Paper or Black Marker
Crayons or S'mores Materials
Timer
Thermometer (optional)
Preview/Background Knowledge
- Students should have a basic understanding of sunlight as a source of light and heat
- Students should have an introductory understanding of energy as something that can cause change (e.g. heat melts ice)
- Students should be familiar with the concept of temperature and how it can be measured
Prep Instructions
1. Choose Your Solar Oven Challenge
Decide which version of the lesson your students will complete:
- S'more Solar Oven
- Crayon Melting Solar Oven
The slide deck includes both options. Before presenting:
- Make a copy of the slide deck.
- Delete all slides for the project you are not using.
- Check the lesson plan for reminders about which slides should be removed.
2. Prepare Student Groups
Divide students into groups of 4–5 students. Each group will build one solar oven together.
3. Print Student Materials
Print the following materials before class:
- Solar Oven Template (1 per group)
- Testing Recording Sheet (1 per student)
• Thermometer version or
• No-thermometer version - Reflection Sheet (1 per student)
- Assessment (1 per student)
4. Gather Build Materials
For each group, prepare:
- 3 large pieces of cardboard
- 1 ChompSaw
- Tape
- Glue stick
- 3 pairs of scissors
- Aluminum foil
- Clear plastic wrap
- Black construction paper or black marker
- Timer or stopwatch
- Thermometers (optional)
Depending on the challenge selected:
S'more Version
- 2 graham crackers
- ½ chocolate bar
- 1 marshmallow
Crayon Version
- Small glass dish
- Broken/unwrapped crayons
5. Check Technology
- Open the slide deck and test all animations.
- Confirm internet access if needed.
- Verify that the ChompShop Solar Oven construction video plays correctly.
- Make sure speakers and projection equipment are working.
6. Scout your outdoor spot
The testing phase requires a sunny spot with no shade. Make sure there's space for all groups!
7. Review the Lesson Timing
The testing portion requires approximately 35–40 minutes, so students can observe changes over time.
If your schedule does not allow for a full testing period:
- Build the ovens during one class period.
- Complete testing during a later class period when students can observe results for a longer time.
This often produces stronger results because students have more time to collect observations and discuss what happened.
Helpful teacher tip: The success of the lesson depends heavily on sunlight and time. If possible, choose a sunny day and allow students the full testing window. The longer students can observe their ovens in direct sunlight, the easier it will be for them to see the effects of heat transfer, reflection, absorption, and insulation.
Extensions
Extreme Weather Challenge
-
Students redesign their solar oven to work better in a specific weather condition.
- Challenge Cards
- Cloudy Day Challenge
- Windy Day Challenge
- Rainy Climate Challenge
- Desert Challenge
- Students must:
- identify what makes their condition difficult for solar cooking
- explain what changes they made to their design and why
- present their redesign to the class
- Challenge Cards
Solar Oven Olympics
-
Students redesign their ovens and compete across different categories.
- Competition Categories
- Fastest Heating Design
- Most Creative Design
- Most Reflective Design
- Most Compact Design
- Best Teamwork
- Competition Categories
Design a Solar-Powered Invention
-
Students invent a new device that uses sunlight as its power source.
- Example Inventions
- Solar pet house
- Solar backpack charger
- Solar toy
- Solar greenhouse
- Solar paddle boat
- Students must:
- sketch and label their invention
- explain how it uses solar energy
- Example Inventions
Invent a Heat-Trapping Challenge
-
Students create their own engineering challenge for another group to solve.
- Example Challenge
- Build a solar oven that could keep a cup of water warm.
- Students must:
- write a clear challenge prompt
- swap challenges with another group
- propose a solution to the challenge they received
- Example Challenge